Improving my CR-10s Pro 3D-printer
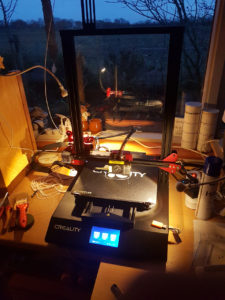
After three years of frequent operation, I decided to replace my Anet A6 3D-printer with the new Creality CR-10s Pro. I must say I’m very happy with this new machine in my shack: it’s easy to operate, the print quality is outstanding and the print volume of 30x30x40cm is very convenient. But… like all 3D printers this one also has a few things ready for improvement; this article describes the modifications I applied to my printer.
Note: This article is updated whenever I have new fixes or improvements.
The Creality CR-10s Pro is a very nice printer. When writing this article, it’s about 3 weeks in my shack now and has been printing for a few hundred hours. The quality of both the printer and the printed objects out-stand my previous printer. The print bed is very sturdy; even when you have to remove a very sticky print the bed leveling is almost never affected. The minimal changes are eliminated by the automatic bed leveling feature.
Like all printers, this printer needs some regular maintenance. I check some important screws now and then, including those of the bowden extruder and the wheels of the X- and Y-axis. I clean the print bed almost weekly using some alcohol.
Also, every printer has its weaker points. I’ve been searching the web for these before buying the printer and concluded that all issues are easy to fix. Down here is a summary of fixes I applied to my printer.
Filament guide
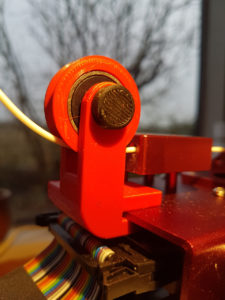
The filament input is basically a hole on the side of the printer. More precisely, it’s a hole in the aluminium case of the filament detector, which pauses the print when the machine runs out of filament. Since my filament is hanging on the roof of my shack, it needs to make a sharp bend to turn sideways into the printer.
A guy nicknamed OneBadMarine published a decent solution for this on the popular 3D printing website Thingiverse.com. He designed a guidance wheel to be placed just in front of the filament input. You can print most of it yourself, the only thing you need to buy is a 608 bearing. I printed my wheel and holder in red PLA, since the printer is coloured black with some red details.
Spool holder
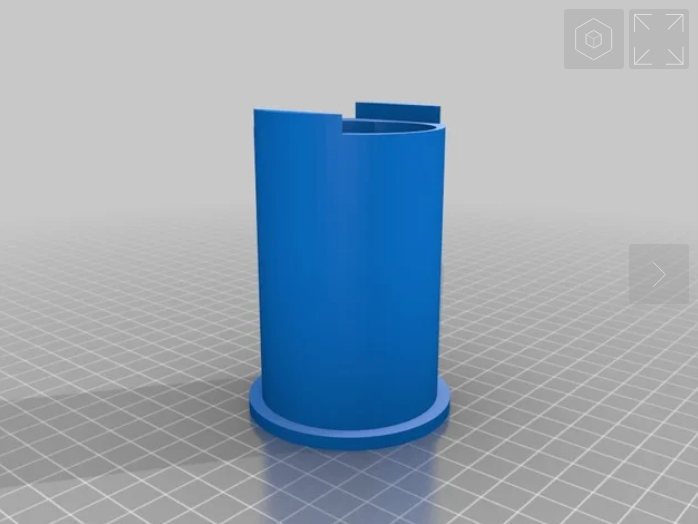
Most filament spools do have a hole of about 52mm, which is quite large compared to the diameter of the included spool holder. I found this neat adaptor to provide a smoother feed, which is compatible with most current Creality printers (including my CR-10s Pro): https://www.thingiverse.com/thing:3349401
OctoPrint
You can use the 3D-printer by inserting a microSD card with the file to print. Handling microSD cards is not very practical, so I hooked up a Raspberry Pi to the printer (over USB) and installed the OctoPi image. This is a Linux image including OctoPrint, the most popular web frontend for 3D-printers.
One nice feature is that OctoPrint provides an API; my slicing software (PrusaSlicer) can use this to enable direct printing.
The printer setup is very easy, I use this gcode to setup the printer whenever a new print job is initiated:
G90 ; Absolute positioning
G28 ; Auto home
G1 F1800 E-2 ; Retract filament 2 mm to prevent oozing
G29 ; Execute Auto Bed Leveling
G0 Z10.0 F3000 ; move z up
This gcode runs after finishing the print, to move the print bed to the front position, allowing me to easily remove the printed object:
G1 X0 Y300 F3000 ; Move the bed forward making removal easy
G91 ; Enable relative positioning
G0 Z10 ; Lift Z
G90 ; Back to absolute positioning
G0 X0 Y300 F3000; Home X axis, move bed to front
M107 ; Turn off the part cooling fan
M104 0 ; Turn off the extruder [and immediately move on]
M140 0 ; Turn off the bed [and immediately move on]
M84 ; Turn off the stepper motors
And this code is executed when the printer is connected to OctoPrint, this is when I turn it on. Since I’m turning it on to print something, it saves some time to do some preheating already:
G28 X Y; Auto home
G0 Y300 F3000; move bed to front
M140 S60; Set bed temperature to 60 C
M104 S215; Set extruder temperature to 215 C
I installed some plugins to provide more (accurate) information, including these:
- Bed Visualiser
- DisplayZ
- Navbar Temperature Plugin
- Octoprint-Display-ETA
- Pi Support Plugin
- PrintTimeGenius
- Terminal Commands Extended
Extruder fix
The Liqui-Dirt 3D channel on YouTube addresses a mechanical design flaw on the CR-10s Pro: the secondary gear of the dual extruder slowly but surely digs itself into the aluminium swing arm. This causes disposition, loss of grip on the filament and eventually metal dust going into the bowden tube, resulting in all kinds of extrusion issues. The video down here shows the exact issue and presents a service to fix it.
Although the replacement program mentioned in the video is probably working ok, it will take some time. Since it doesn’t seem very difficult, I decided to contact a local radio amateur who owns a nice metalworking workshop. He kindly helped me to mill some aluminium (about 0.5 mm) from the lever, providing just enough space to put a delrin washer in between.
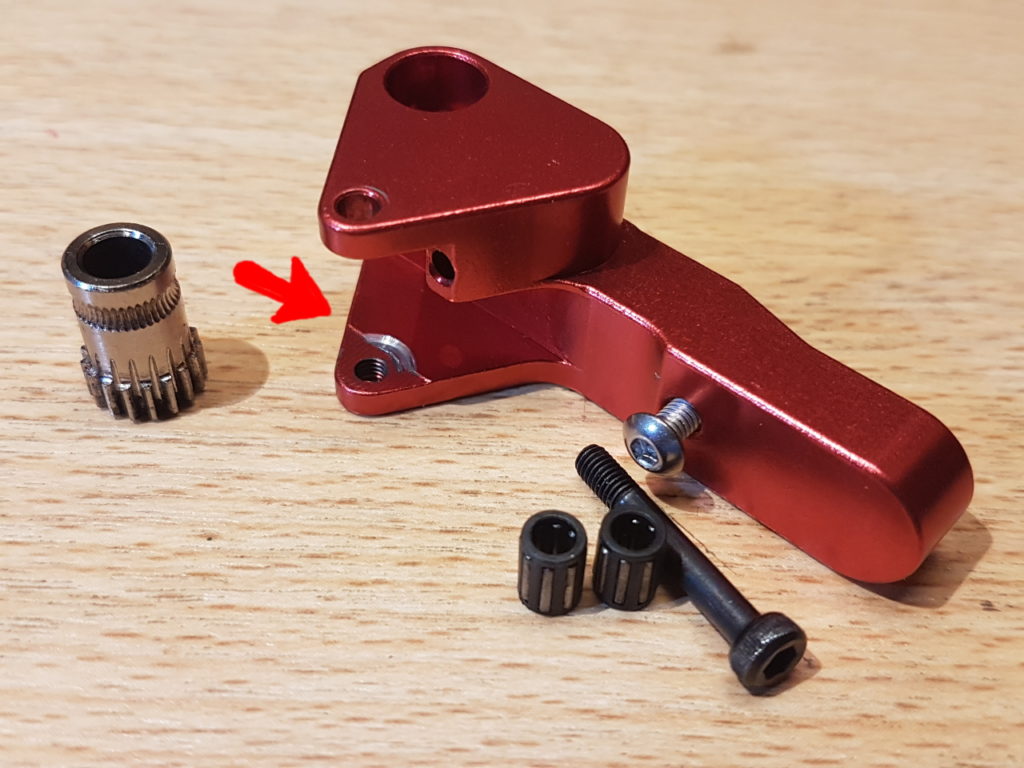
Damage on my swing arm after a few hundred hours of printing. 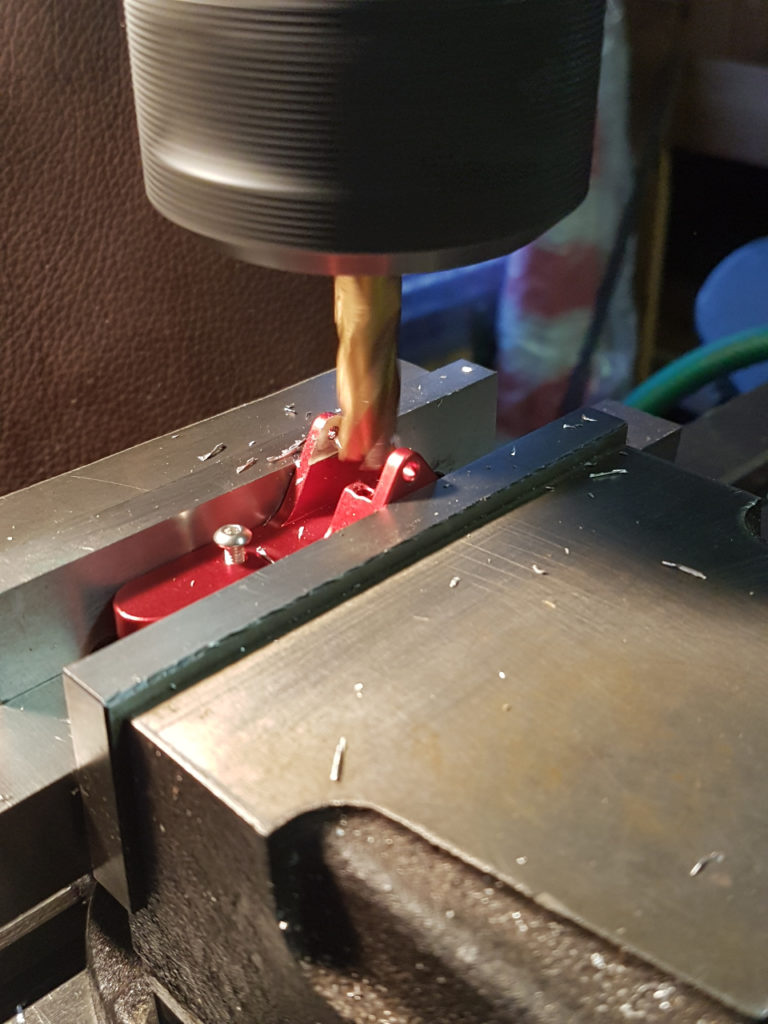
Milling the swing arm to make room for a washer.
Fan duct replacement
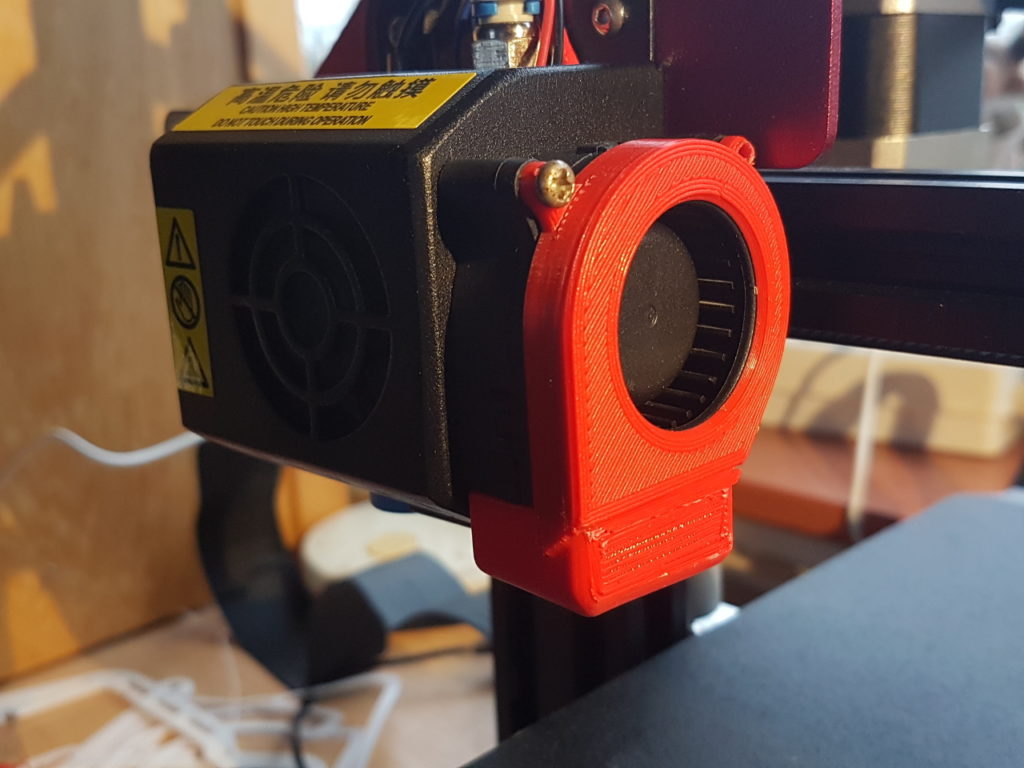
Multiple users of the CR-10s Pro complain about the hot end fan duct, which seems to fall off after some time. The reason for this is that it is kept in place with just one screw, so better replace it with a fan duct that is mounted with multiple screws. Again, Thingiverse shows a couple of solutions, from which I selected this fan duct by siteswapjuggler. I printed this design in red PLA. Then I joined it with hot end fan, using three M3 screws that are just a bit longer than the original ones. I kept the original fan duct and screws for spare.
Z leveling sensor issue
After about six months of intensive printing I got issues with my Z leveling sensor. The stock sensor is a capacitive proximity sensor. When performing actions like G28 (auto home) or G29 (auto bed leveling) sometimes the sensor failed and the printhead was driven into the print bed. I replaced the sensor with an inductive proximity sensor (LJ18A3-8-Z/BY) but that didn’t work. Then I tried the LJ18A3-8-Z/BX, still no luck. After hours of troubleshooting I found out that the EL357N optocoupler on the breakout failed. I replaced it with an SFH601-4 which I found in my junkbox. Now the printer is working fine again. I still don’t know what was the real cause of the leveling issues: a failing sensor or a dying optocoupler? Whatever the cause was, it is fixed now 😉
The inductive sensors has some pro’s and con’s. The good news is that it is more precise and less influenced by the environment. However, the inductive sensor can only detect metal, so printing on glass means you have to change your Z-offset (M851).
I found this video very informative about differences between most popular sensors for 3D-printing:
Bowden tube issue
Sometimes the bowden tube gives up at one of the pneumatic connectors. To prevent this it’s a good practice to prevent the pneumatic connectors from being pressed. Therefore I printed a bunch of these lock clips, (Z scaled down 50% to fit onto the black connectors): https://www.thingiverse.com/thing:3566206