Spijkerradio
Introduction
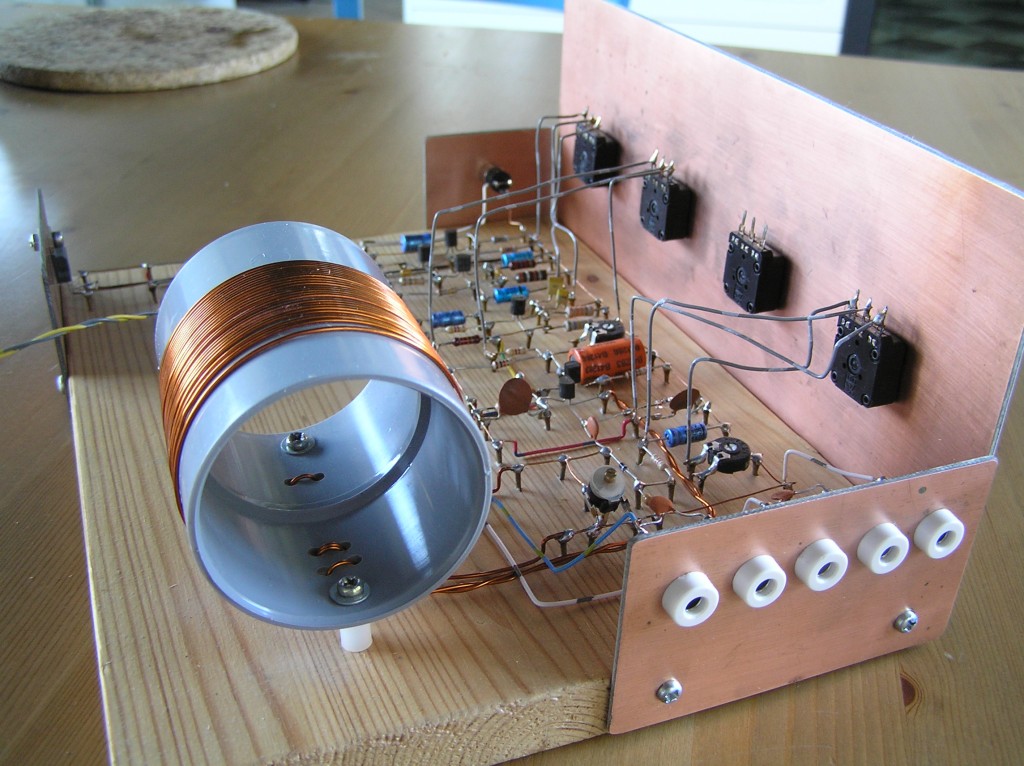
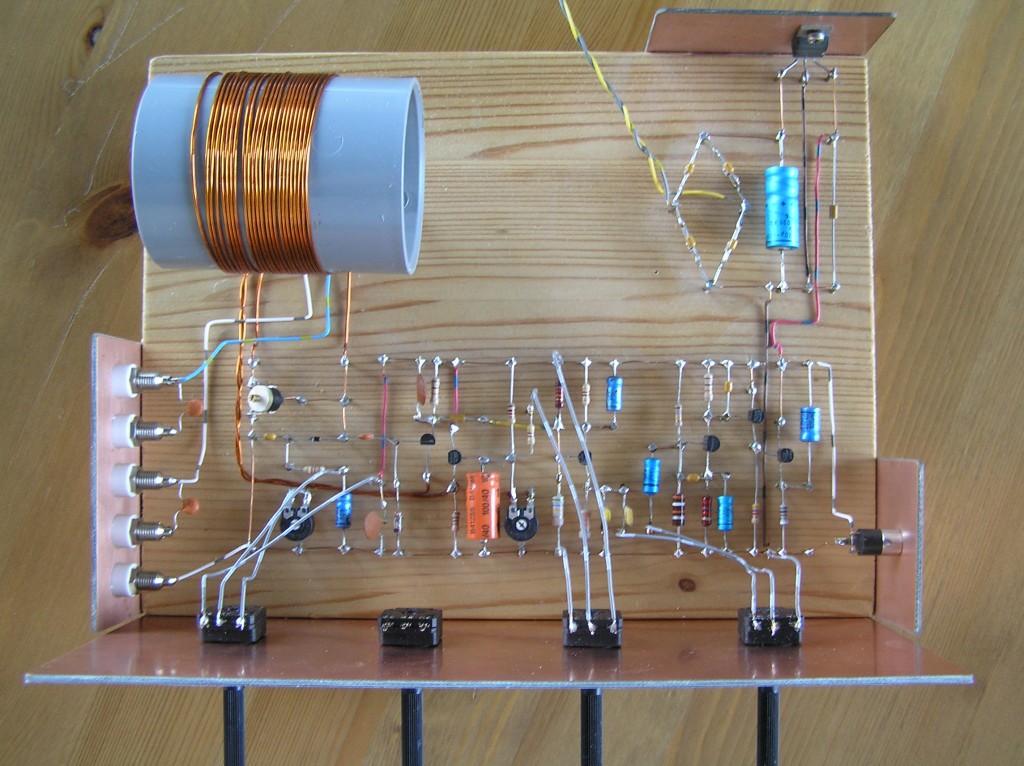
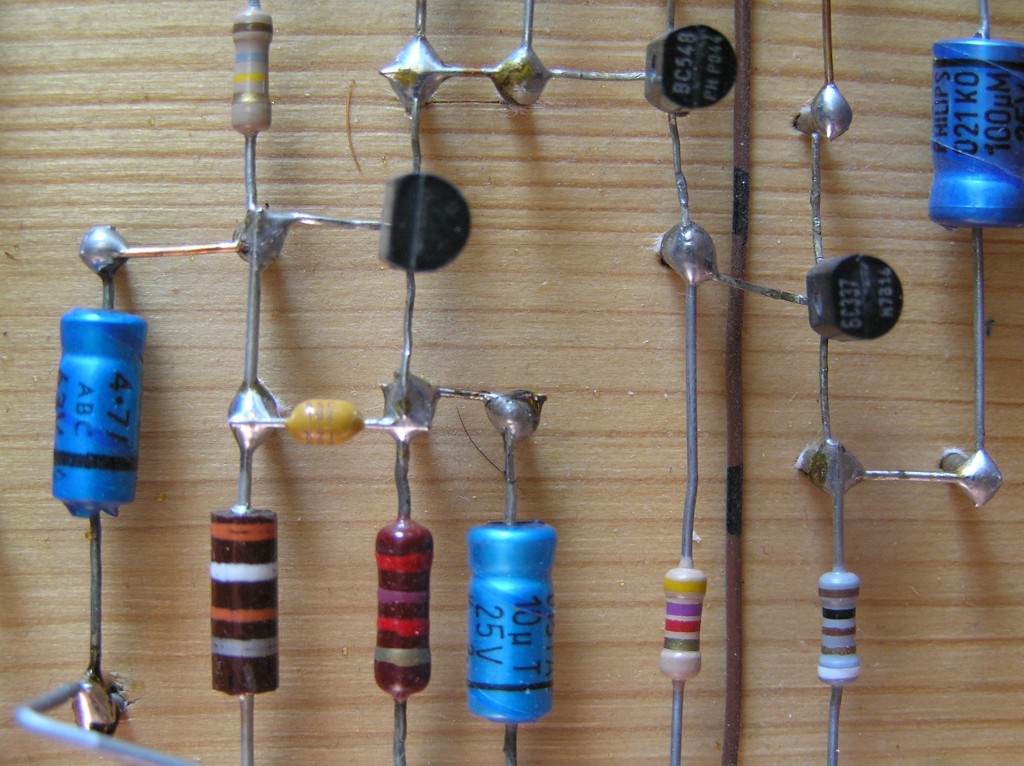
“Spijker” is a dutch word for nail, which you would normally use to hang something on the wall, or to construct wooden stuff. However, (brass) nails can also be used as as solder pad. PA0KLS used this idea to construct a receiver, called the “Spijkerradio” (nail radio). It is a nice project for starters to build their own radio.

The receiver is based on the good old 0V1. This was a very simple receiver with only one tube. PA0KLS redesigned the schema to replace the tube by transistors. He also added a small audio amplifier to allow usage of modern (low impedance) headphones or a small speaker.
Construction
All details of the radio were published in a series of articles in the dutch hamradio magazine “Electron”. You can download a collection of these articles here.
Most components come from my junkbox. I only bought a new FET, varicap, connectors and potentiometers. I used a PVC drainpipe for the core. All panels are made of copper clad.
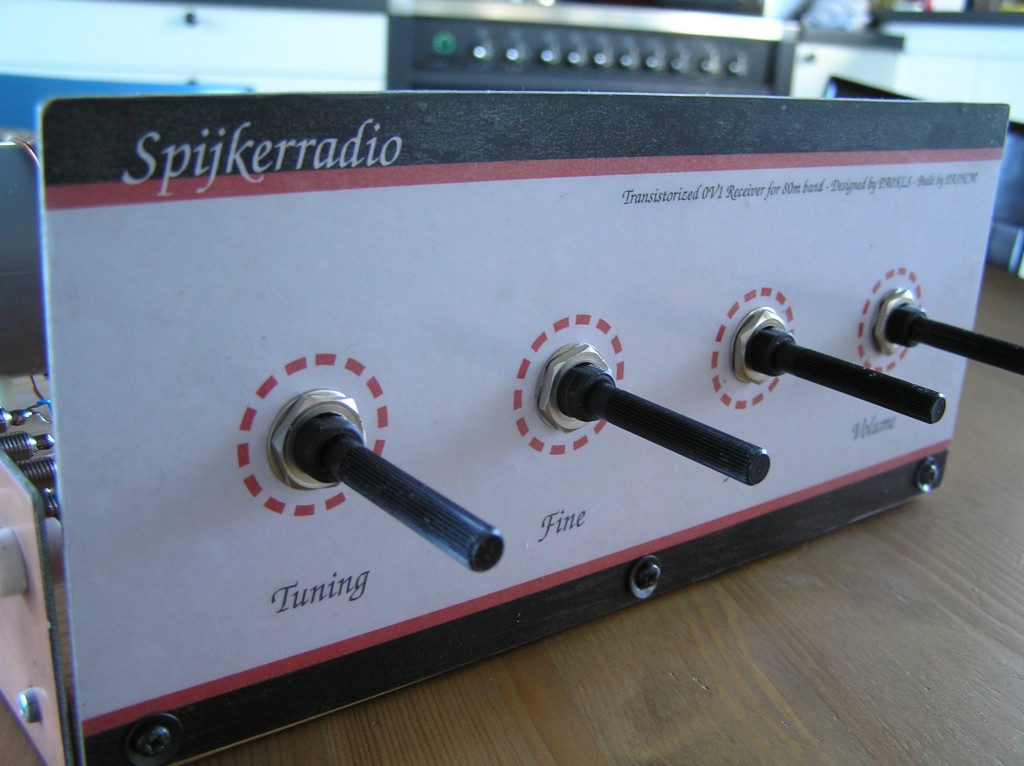
I printed the front on self-adhesive label, then sticked it onto the (drilled) copper clad, and covered it with “Boeklon” (self-adhesive transparent plastic foil, normally used to seal book covers). Finally I cut out the holes and mounted the potentiometers.


Results
I did not add the “fine tune option”, so tuning is a little bit difficult, it is doable however. The radio receives lots of stations, depending on your antenna type and position of course. The result looks very nice, and is a fine example of building your own stuff with simple materials. Although it is meant to be a starters project, I think it’s a bit too much to start with, especially for kids since they would like to have results in just a few hours. I think this project took about 15-20 hours altogether (apart from waiting for the paint to dry).
This project is more about building than using. Yes, it does receive radio stations, but don’t expect a stable or sensitive receiver, it simply isn’t. Still, it is a lot of fun to build it!

![[image]](https://www.pa3hcm.nl/wp-content/uploads/2013/12/enh-logo1.jpg)
Hallo Ernest,
Nog bedankt voor het QSO van vanmiddag (04-04-2014)
Mooie site heb je, met leuke informatie. Dit geeft mij weer inspiratie om te bouwen.
Groet,
Gerard
PD0GMU
Zeist
Thank you, Gerard. Always nice to inspire other hams, actually that’s what this website is all about.
Dank je wel, Gerard. Dat is waar deze website ook precies voor bedoeld is: inspireren van andere radiozendamateurs.
Ziet er goed uit, ik ga hem ook maken met de QRP. Mag ik wete wat je er aan uitgegeven hebt?
73’s
de PD0RBO
I found most parts in my junkbox and workshop. I only had to buy the PVC socket (for the coil), varicap diode, potmeters, knobs and connectors. That’s about 20 euros, I guess.
The applied electronic components are very common, so rather cheap to get, maybe 25 euros. Then you need some wire, a piece of wood, maybe paint to finish the wood, small brass nails, copper clad, and a handful of screws. I you buy everything new, I guess it will cost about 75 euros.
Dear Ernest,
You can mantar me the layout of this receiver?
Congratulations assembly, was very cool!
73
Jesus – PS8ET
Since the original document is in dutch, I’ll help you a bit:
– Download this document: https://www.pa3hcm.nl/wp-content/uploads/2013/12/spijkerradio.pdf.
– Look at page 3, these are the circuit drawings.
– Get yourself a piece of wood, 14 x 20 cm. I recommend pine wood o(easy to put the nails in).
– Look at the last page, scale the second drawing to the size of your piece of wood.
– Place a nail on each dot. Do NOT place a nail at the gate of the BF256 transistor, this node will remain in open air (due to high input impedance of the transistor).
– Place the components, the document contains all kind of drawings that will help you out.
– The giant coil has a diameter of about 5cm, 20 turns of wire (0.8 … 1.0 mm diameter) and another 4 turns (same wire) but winded in the opposite direction.
Good luck!
Ok, thank
Dear Ernest,
I completed the receiver, is only missing the FET and diode (OA95 / BB809)
I’ll send you the pictures in the mail
73, Jesus PS8ET
I like Your Prototyping method! It’s real Homebrewing!
73, Z37FFF
Mitko