Walt’s Keyer
Almost every nerd is a fan of automation. So whenever we find a repetitive job, we think of a solution to automate it. Since I’m both into automation and amateur radio, I was thinking on automating one of my straight morse keys, in a bit unusual way, by building a mechanical hand that operates the key.
I can’t think of any serious application, but I expect it to be very attractive and people will probably look twice whenever they see and hear it. And… it still is a nice home-brew job for the weekend, that includes 3D printing and Arduino coding.
Hand
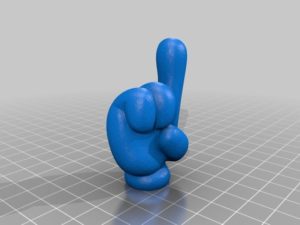
The most important part is probably the hand. I searched the web for a nice hand or finger that I was able to print using my 3D-printer. Eventually I found this hand on the Thingiverse website, which is rather similar to the right hand of Mickey Mouse; the shape is very cartoonish, a real eye catcher.
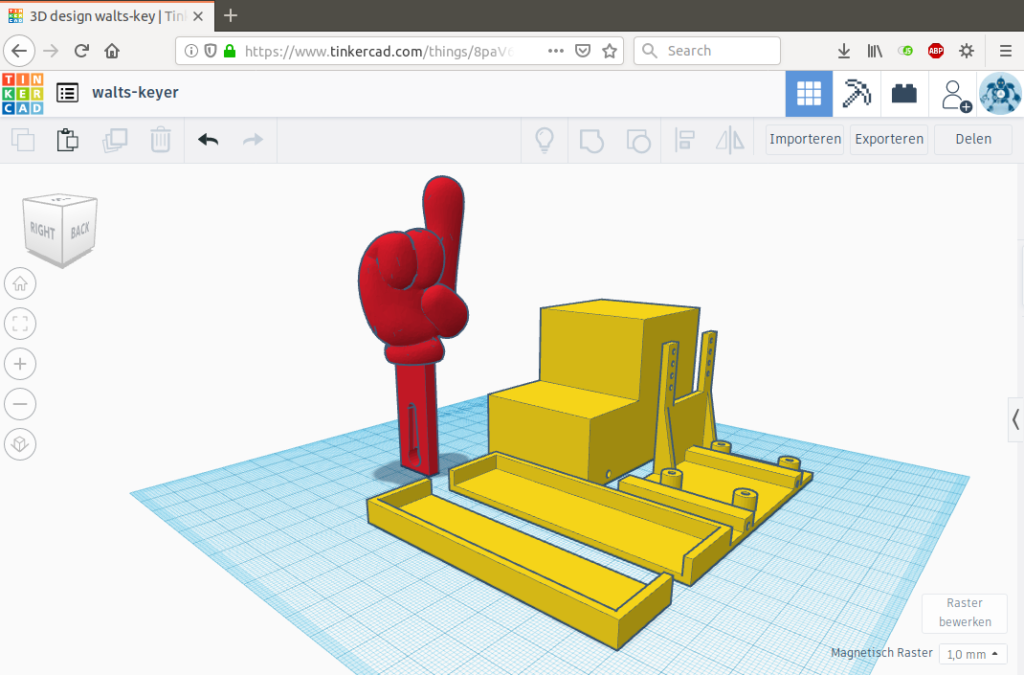
Using Tinkercad I extended the hand’s shape with a small lever, allowing it to be attached to a servo. The hand is best printed pointing upwards with build plate support.
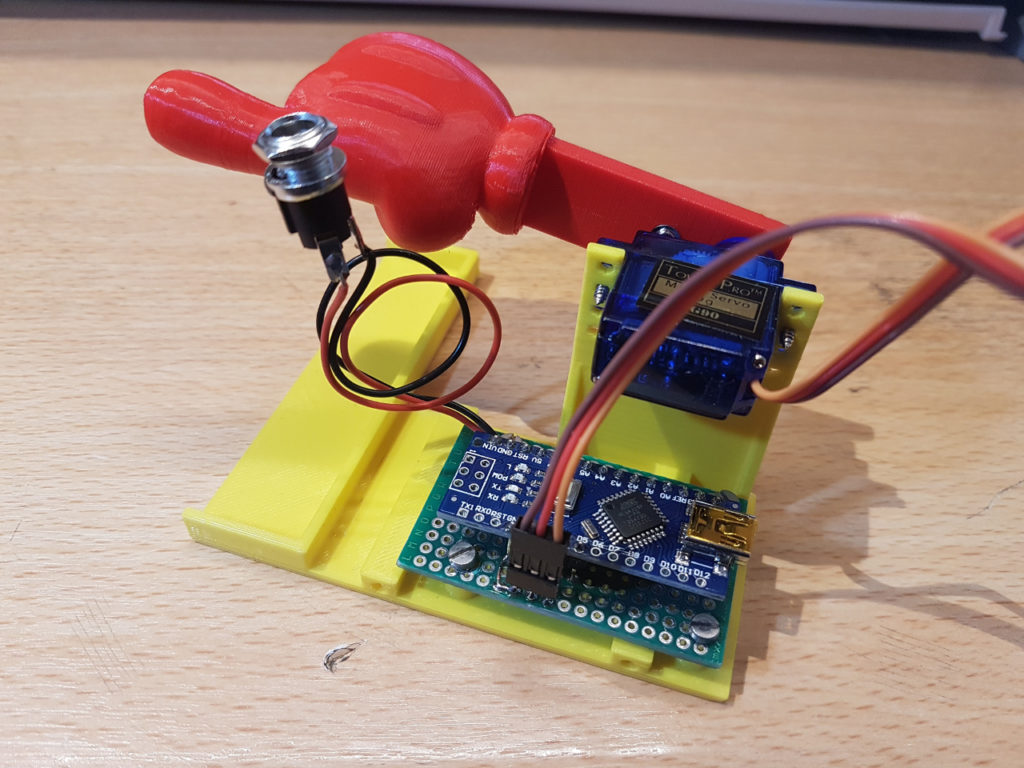
Mount
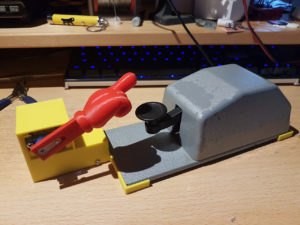
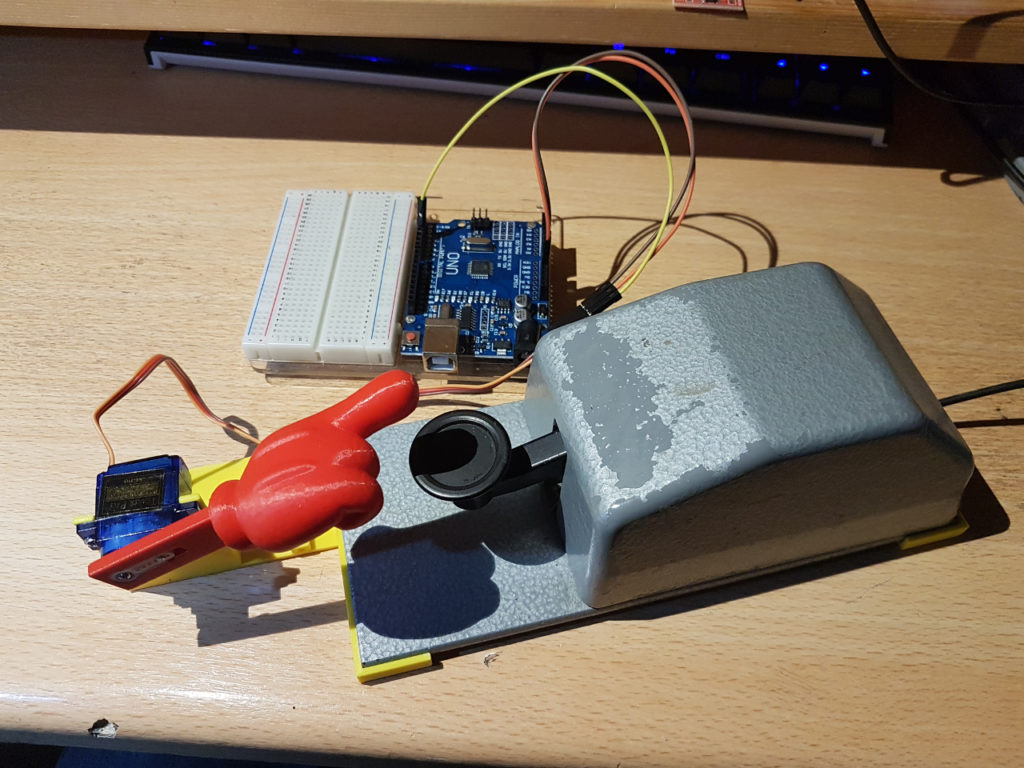
Next I designed a mount for the servo. It is basically a base plate that can be placed (partially) under the key. I decided to use my classic Junker Telegraph Key, since it is rather heavy. The base plate also provides a mount for the servo, and a few stand-offs to mount a circuit board (e.g. Arduino Nano). For the servo I selected the SG90, which is widely available and can be directly attached to the Arduino. I attached it to pin 3, which is one of the Nano’s pins that supports pulse width modulation (PWM). In case you didn’t know, the servo’s position is set using a PWM signal, most Arduino boards are able to generate this signal on some digital pins.
Code
The Arduino code is rather straightforward; it converts a given string into morse code and moves the servo in a way that dots and dashes are generated by the morse key. The key itself can be attached to a sounder or transmitter to hear the morse sound. The keying speed is limited due to the fact that the servo is quite slow. You can change the speed by modifying the value of the constant DOTTIME.
It took a few tries to get the hand in the right positions, in such a way that the finger provides enough force on the key to push it down, and lifts just enough to let the key go up again but remain touching it. The constants KEYUP and KEYDOWN allow you to tune this.
Finalized the electronics 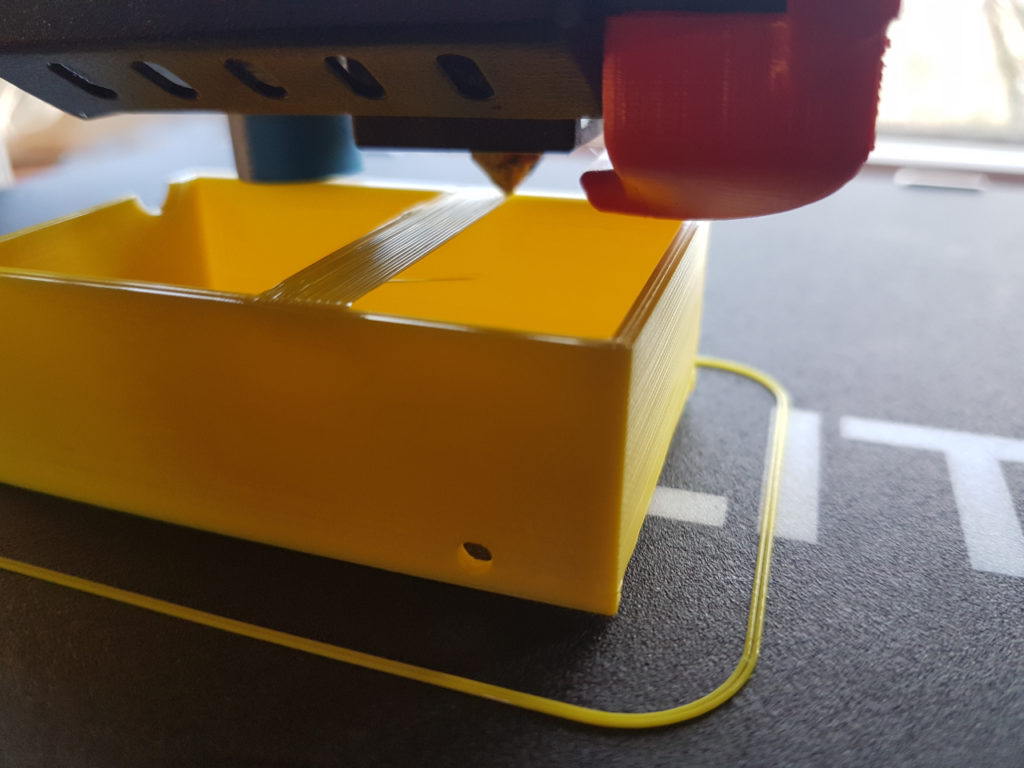
3D-printing the cover 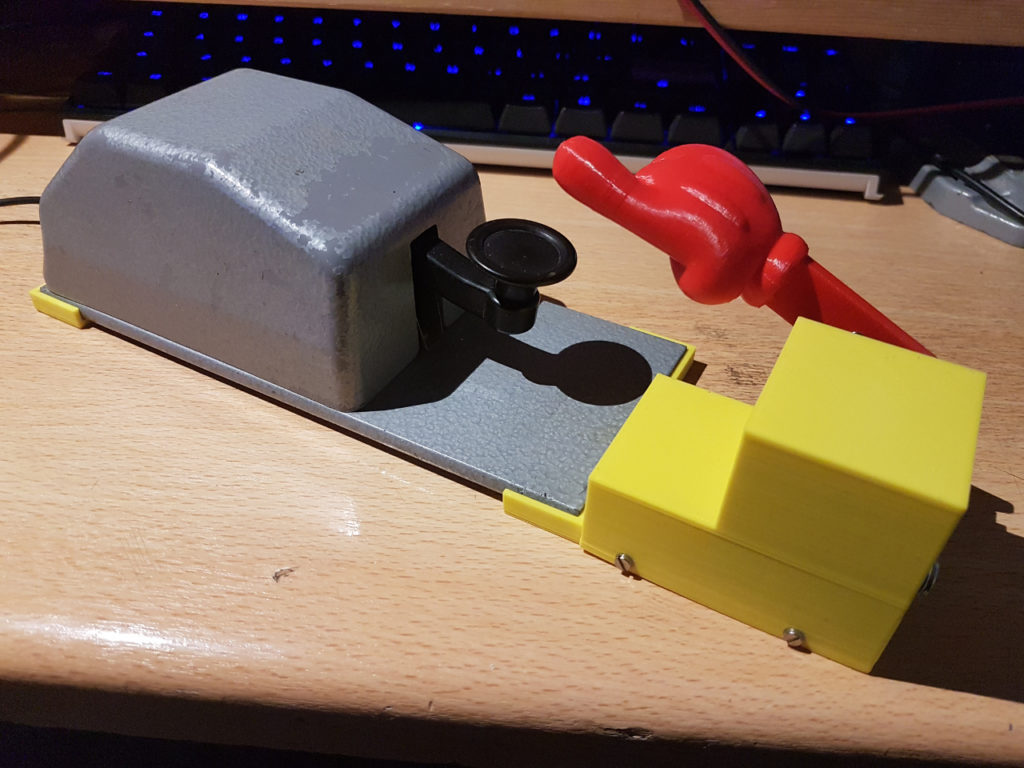
The final result 
The final result, seen from the other side
Mickey Mouse was created in 1928 by Walt Disney, with the help of Ub Iwerks. To honour the original creator of the hand used in this project, I named it to Walt, hence Walt’s Keyer.
Sources
Arduino code: github.com/pa3hcm/waltskeyer
3D printable parts: www.tinkercad.com/things/8paV6KRCnox-walts-keyer
Youtube video: youtube.com/watch?v=lrqafmBqPRc