![[image]](https://www.pa3hcm.nl/wp-content/uploads/2013/12/enh-logo1.jpg)
Tiny Restic backup appliance


The RAMpocalypse is still pushing up the prices for memory and SSD storage. However my all-in-one homelab server is about 10 years old and needs to be replaced. I want to move to multiple low-power computers like Raspberry Pi, since I have quite a few in stock and they allow me to build a more redundant setup (e.g. for DNS). In this article, I tell my story about how I built a tiny backup server for the Restic backup software using a Raspberry Pi 4.
Why a new backup server?
My good old homelab server is a simple ITX-based x86-box with multiple disks (RAID1). It is my storage, my webhosting, my mailserver and also runs a bunch of internal apps (e.g. an API for storing data for my private weather station). However, It’s getting old and I am not very happy anymore with such an all-in-one solution:
- First of all, the disks are getting old (1TB Seagate Barracuda disks, about 10 years spinning 24×7!).
- I also want to improve my data security by physically separating storage and compute. This also allows me to add authentication/authorization to shares/volumes (currently most applications directly access the storage on the local drives).
- I want to move away from the “server” idea and want to run everything in containers instead, preferably using Kubernetes. This will result in better isolation of my workloads (compared to running all applications/services on a single server). This also allows me to do more on automation; I really like the GitOps concept, where all configuration is in a git repository and deployed/updated automatically without intervention. And finally this will allow me to maintain and improve my Kubernetes skills (apart from my daily work).
- The backup solution is outdated. I used BackupPC to create daily backups of my file shares to an external USB-disk. This disk was also replicated twice a week to a remote location, so whenever a fire or lightning would strike my house, at least I didn’t have to worry about my data. Development on BackupPC slowed down and I was not happy with the poorly documented CLI. It also doesn’t integrate at all with Kubernetes.
Nextcloud
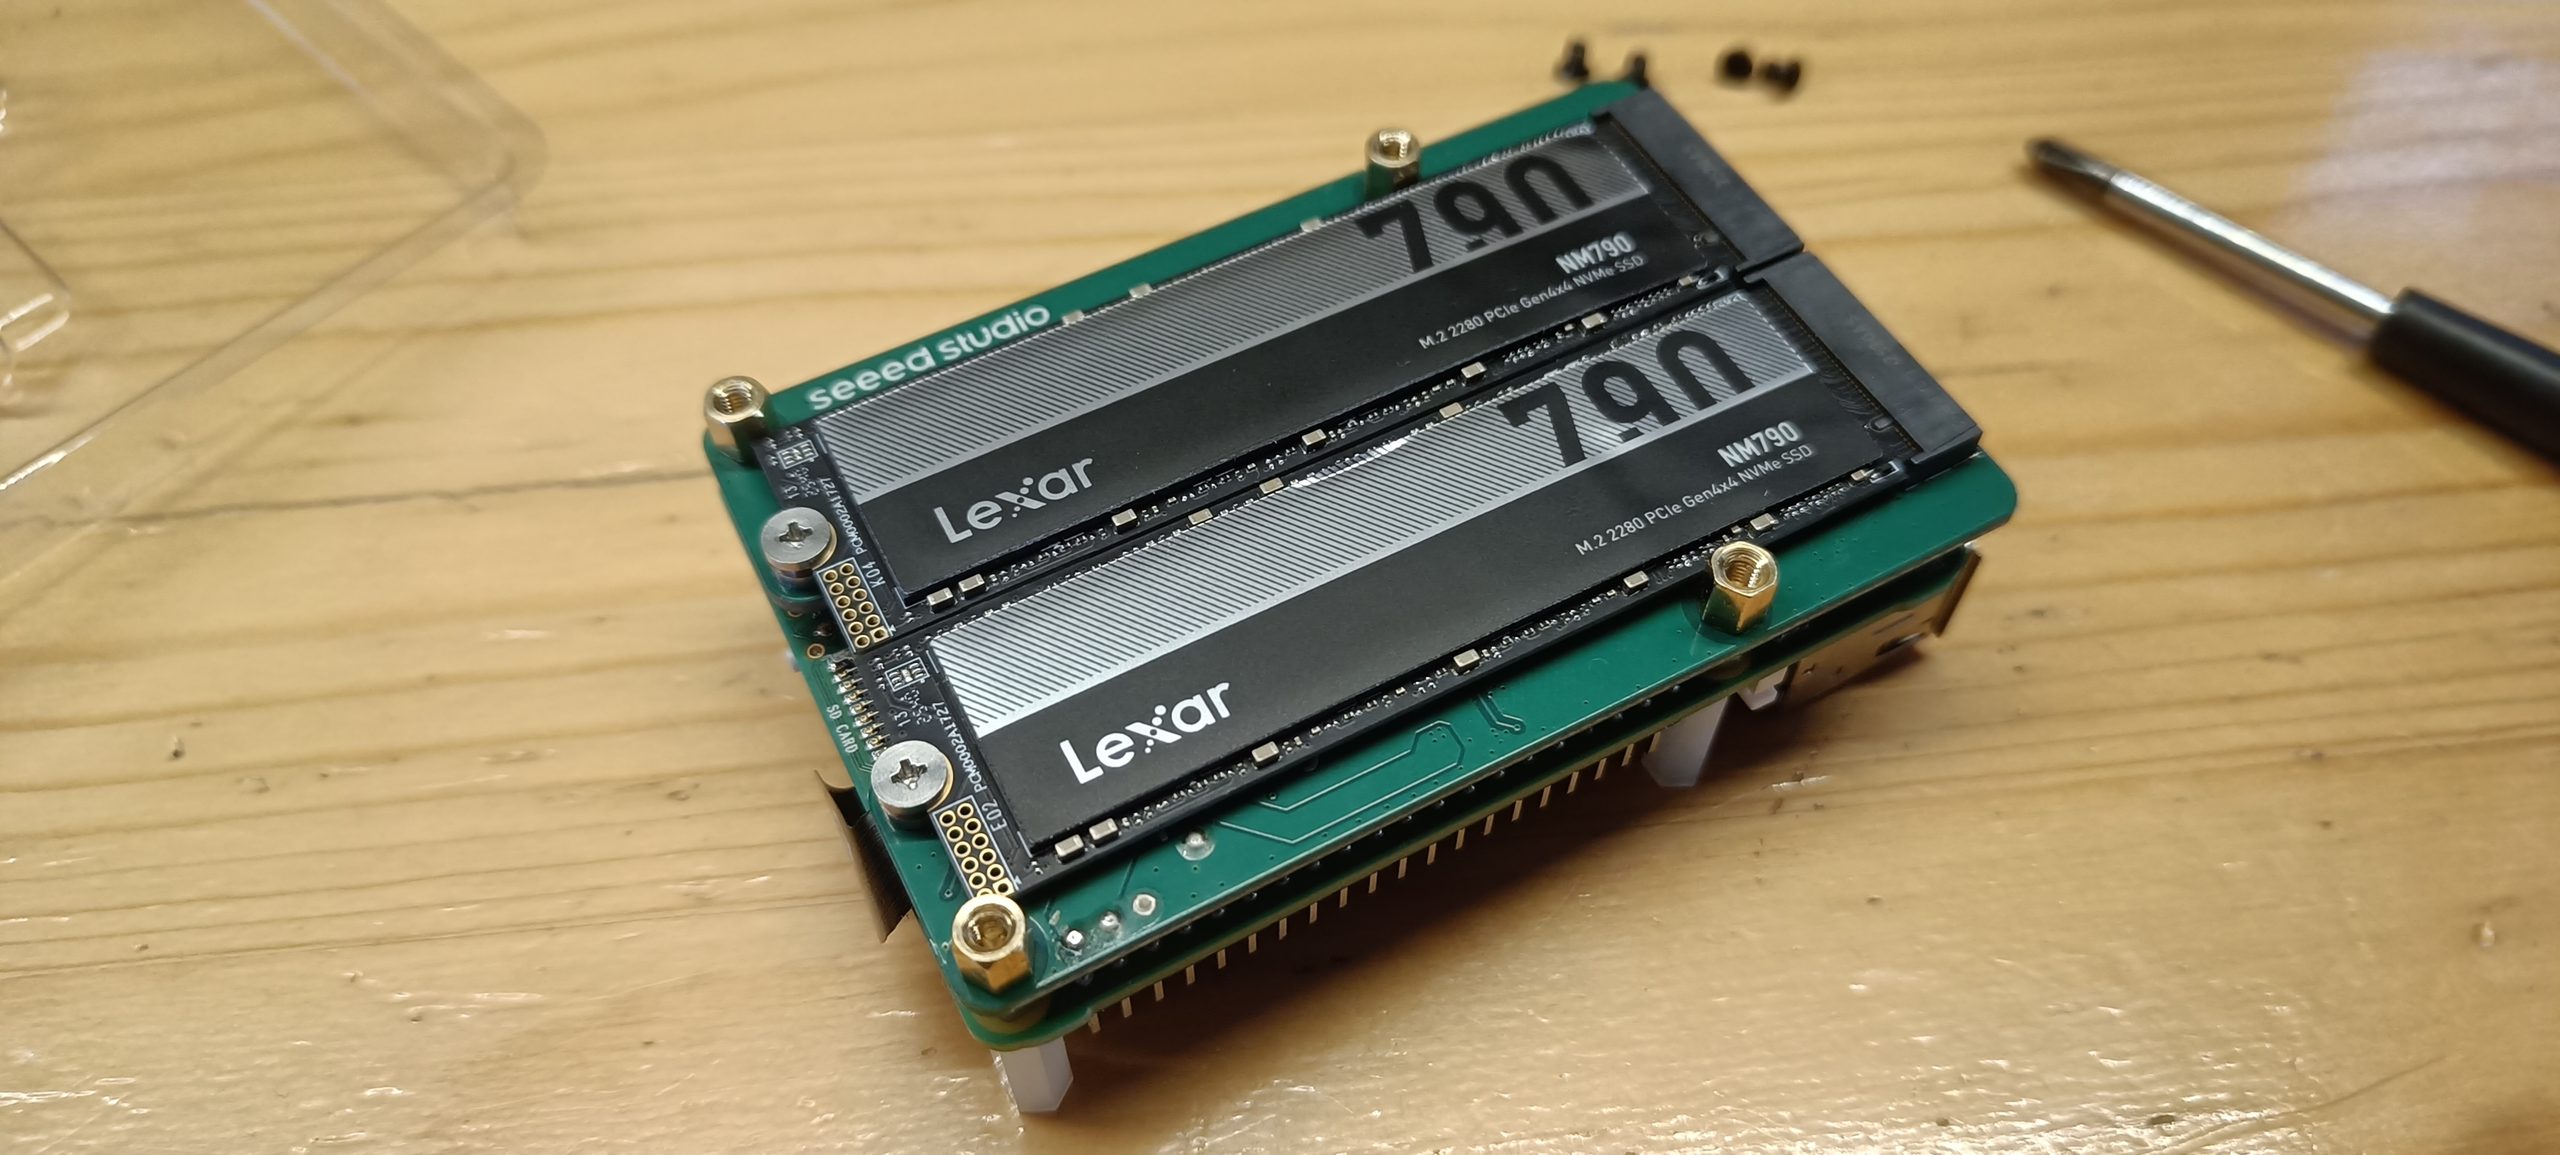
To deprecate the old spinning disks, I recently migrated all file shares of my old home-lab server to a new Raspberry Pi 5 with dual M.2 head and two SSD’s (I still hope to write a blog post on this project). I also migrated from SMB to Nextcloud for my endpoints. I’m very happy with this new storage solution.
Restic
A storage solution is not complete without a decent backup. I’ve seen multiple open source backup solutions in the past and Restic is one of my favorites. It is easy to use, provides basic encryption, can backup over SSH and it also integrates with Kubernetes (via Velero). Ok, it’s not perfect: it is push-based and there is no central scheduling. Since I will only have a few clients, I think I can handle this 😉
Hardware
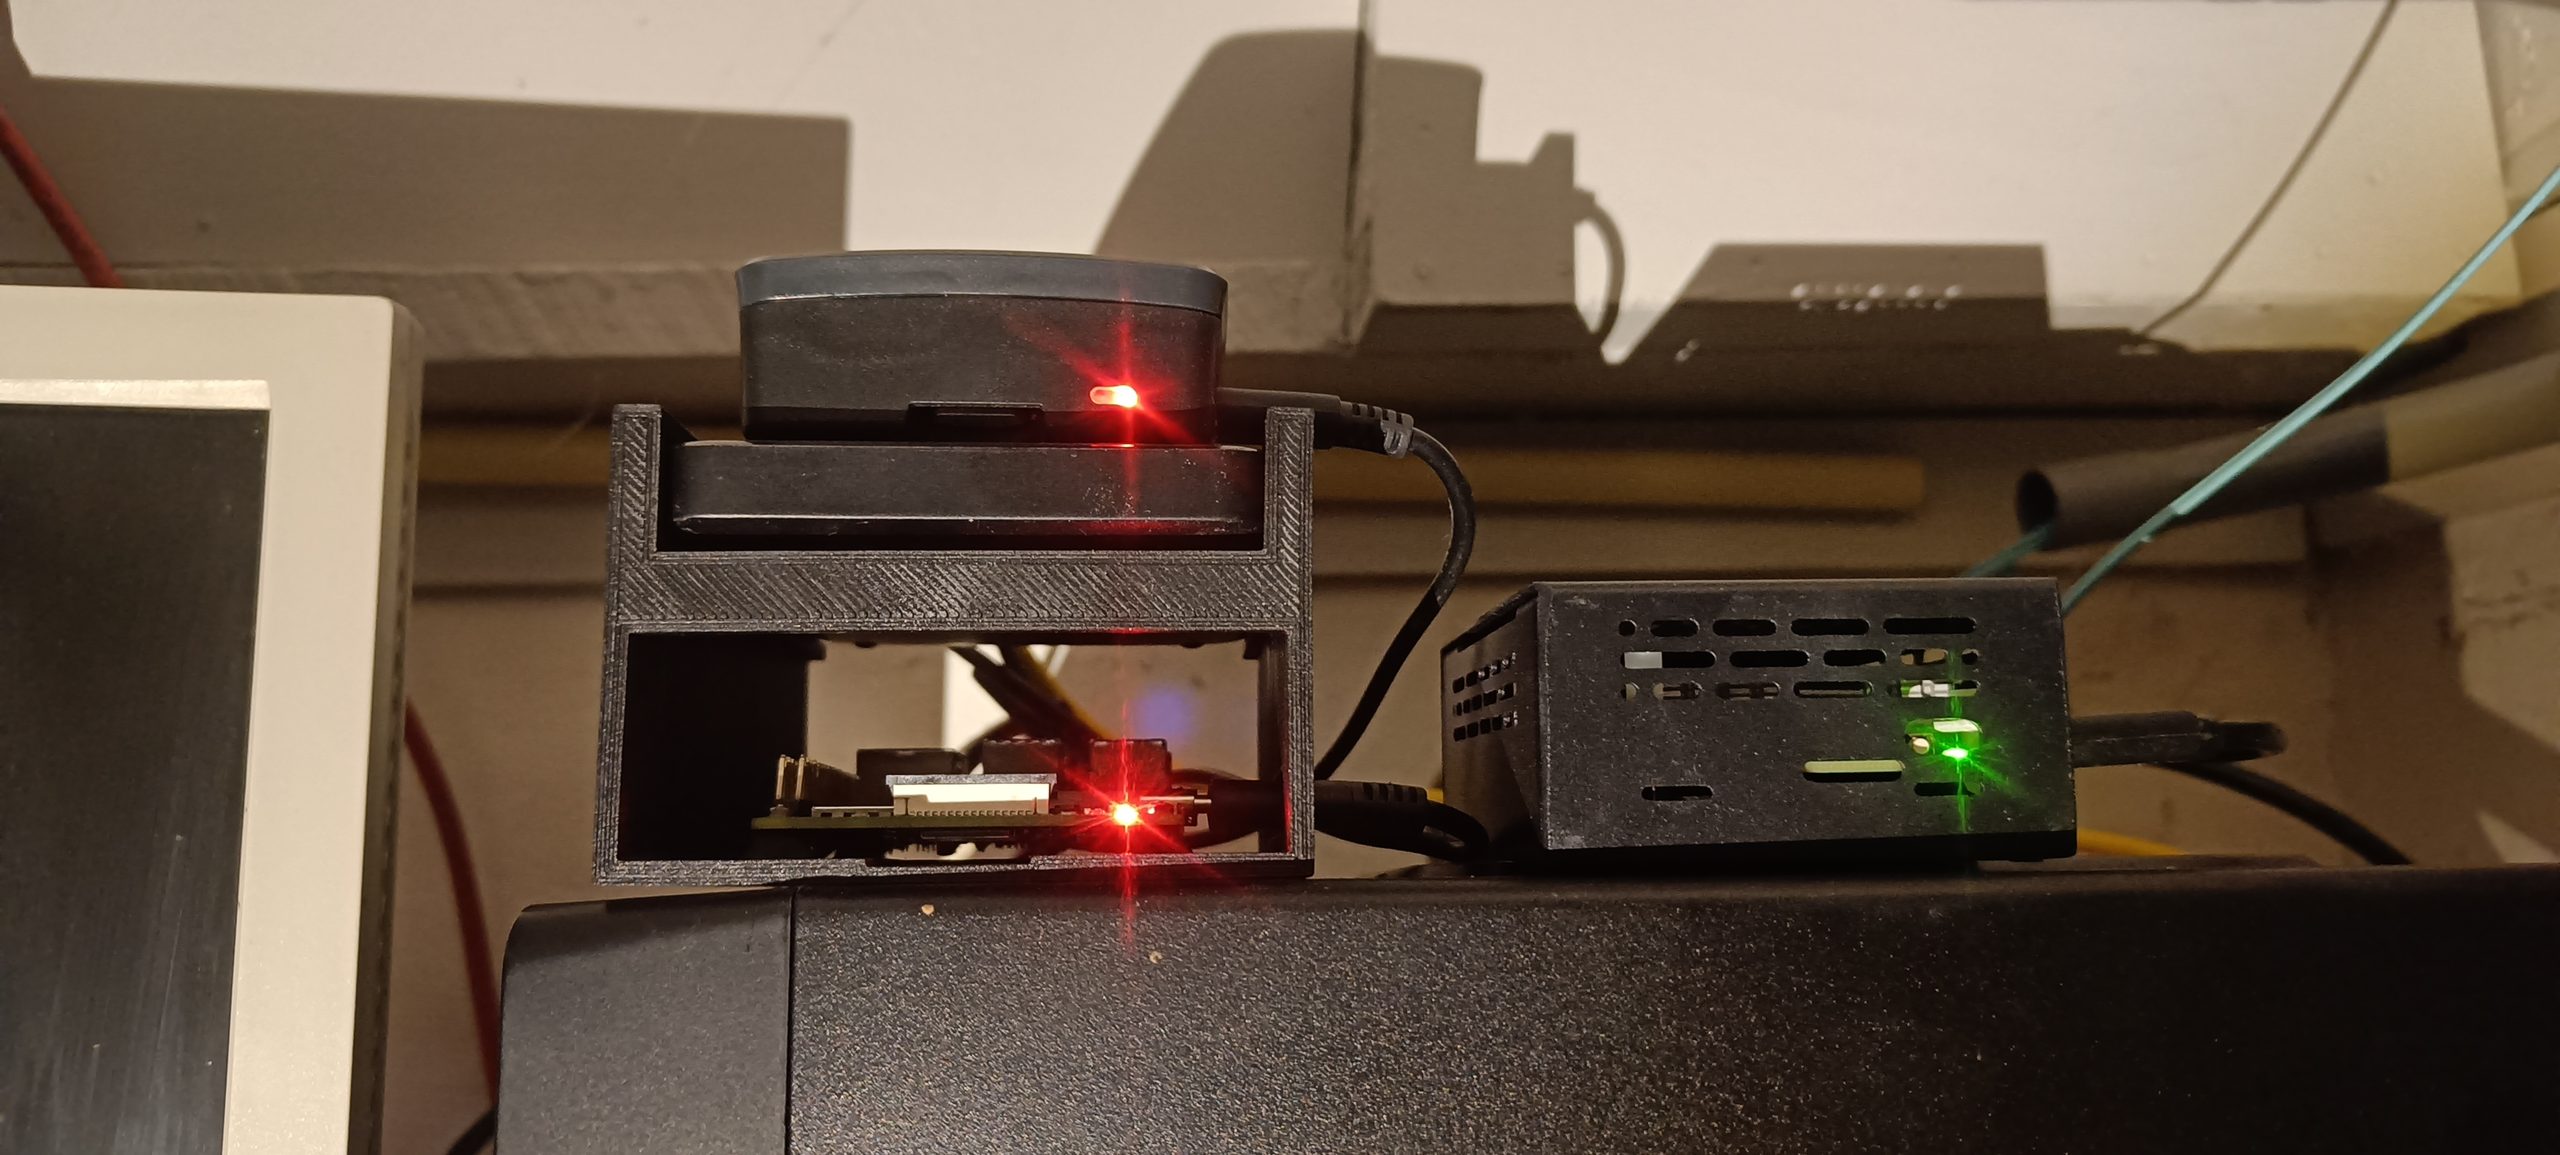
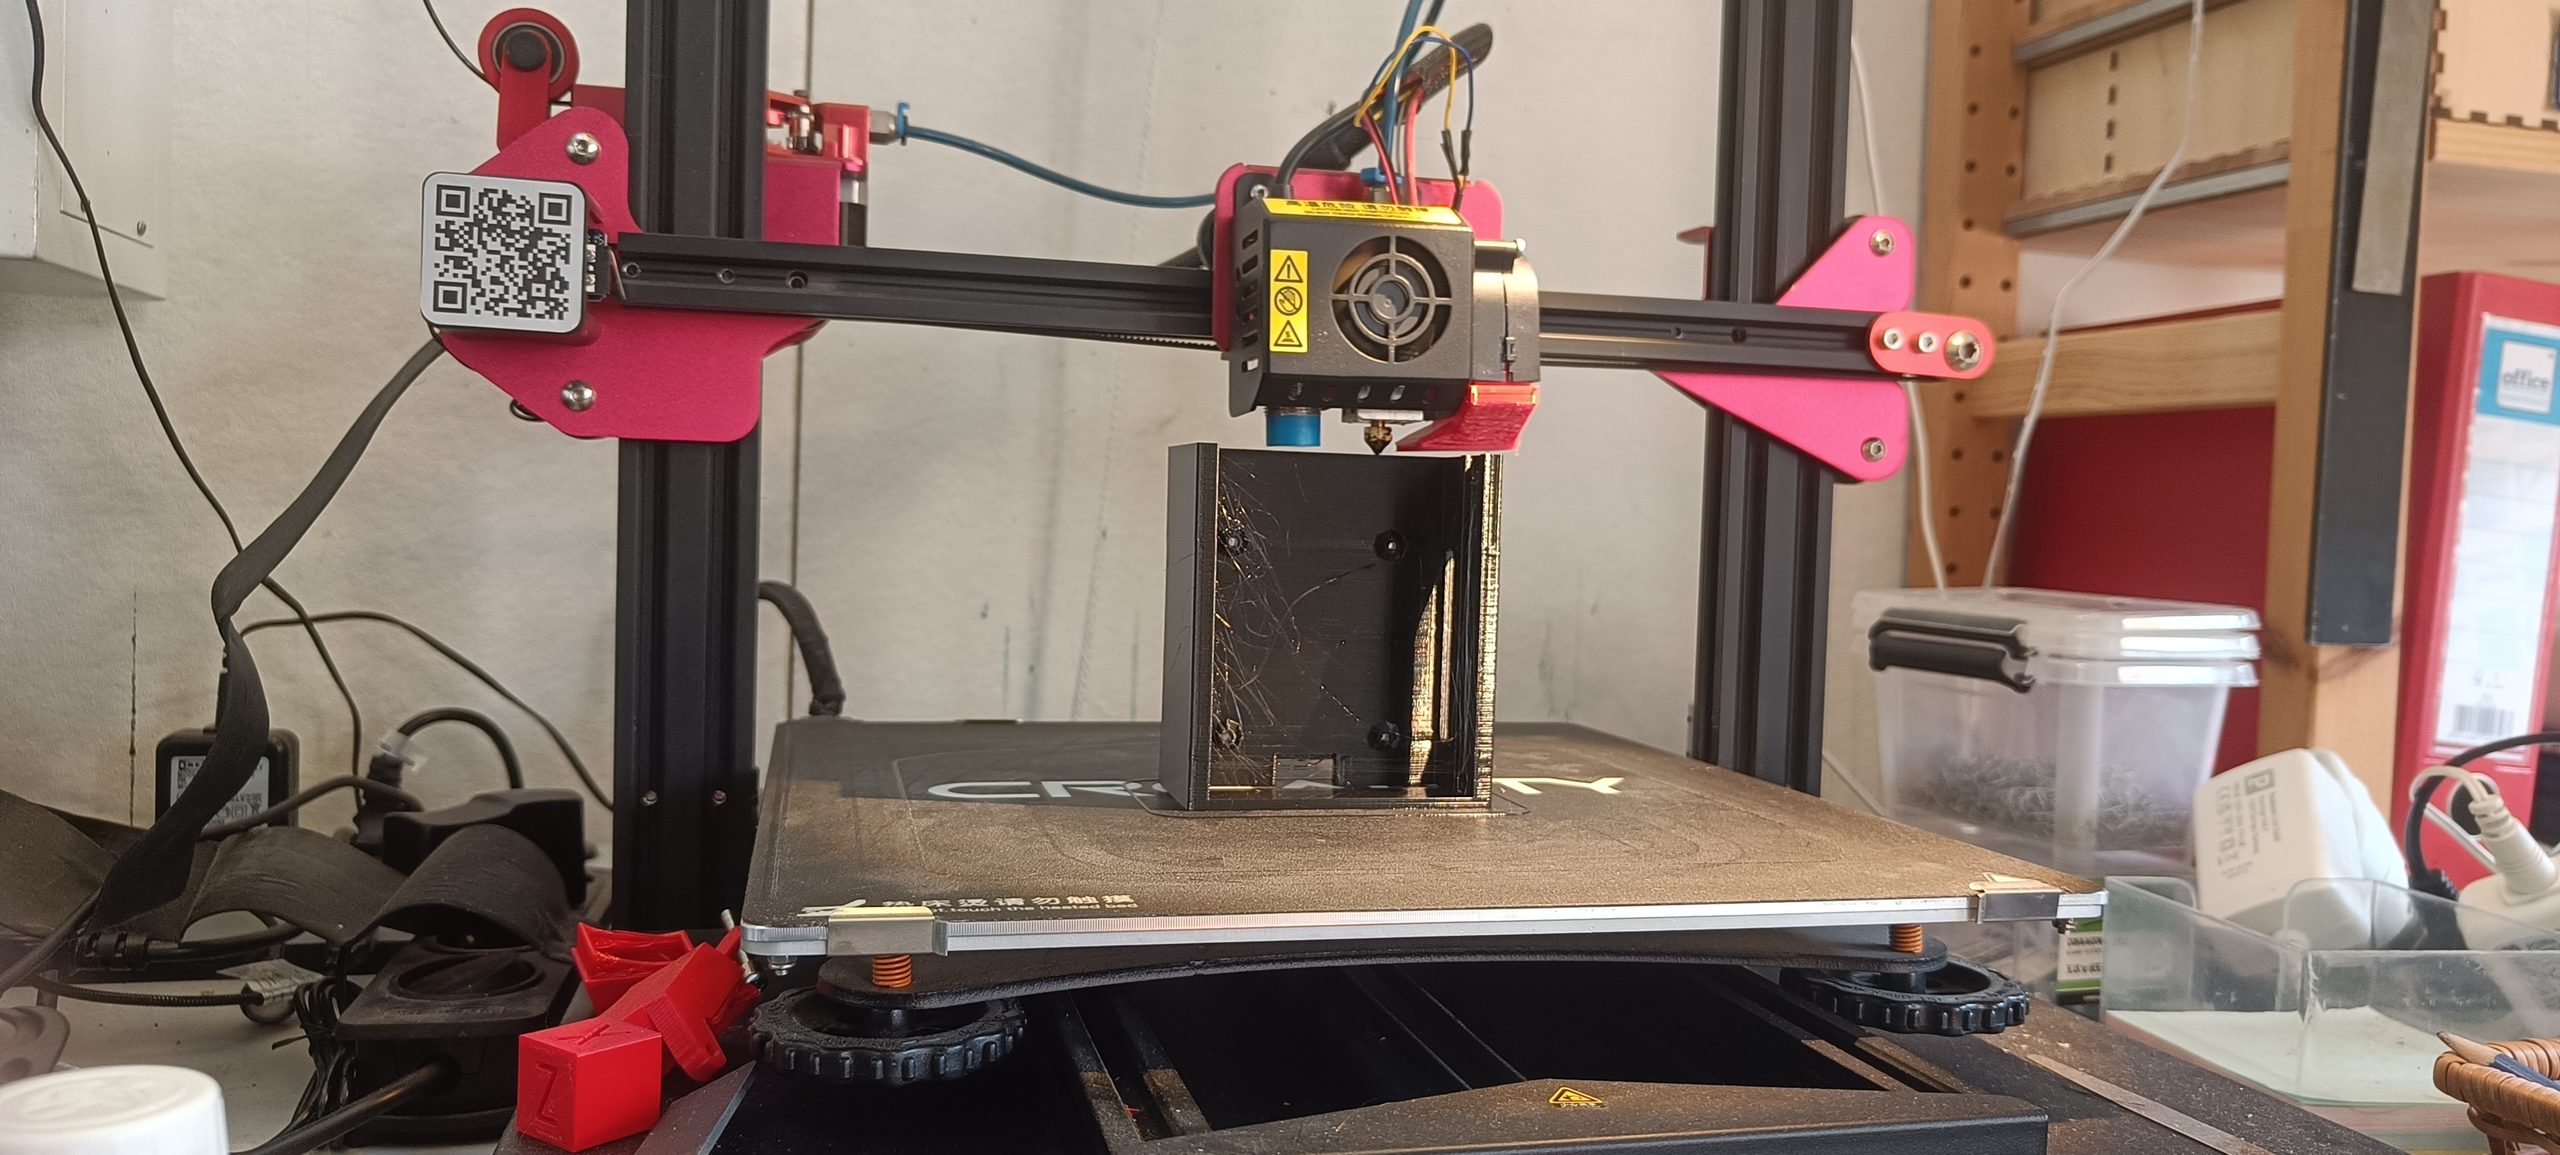
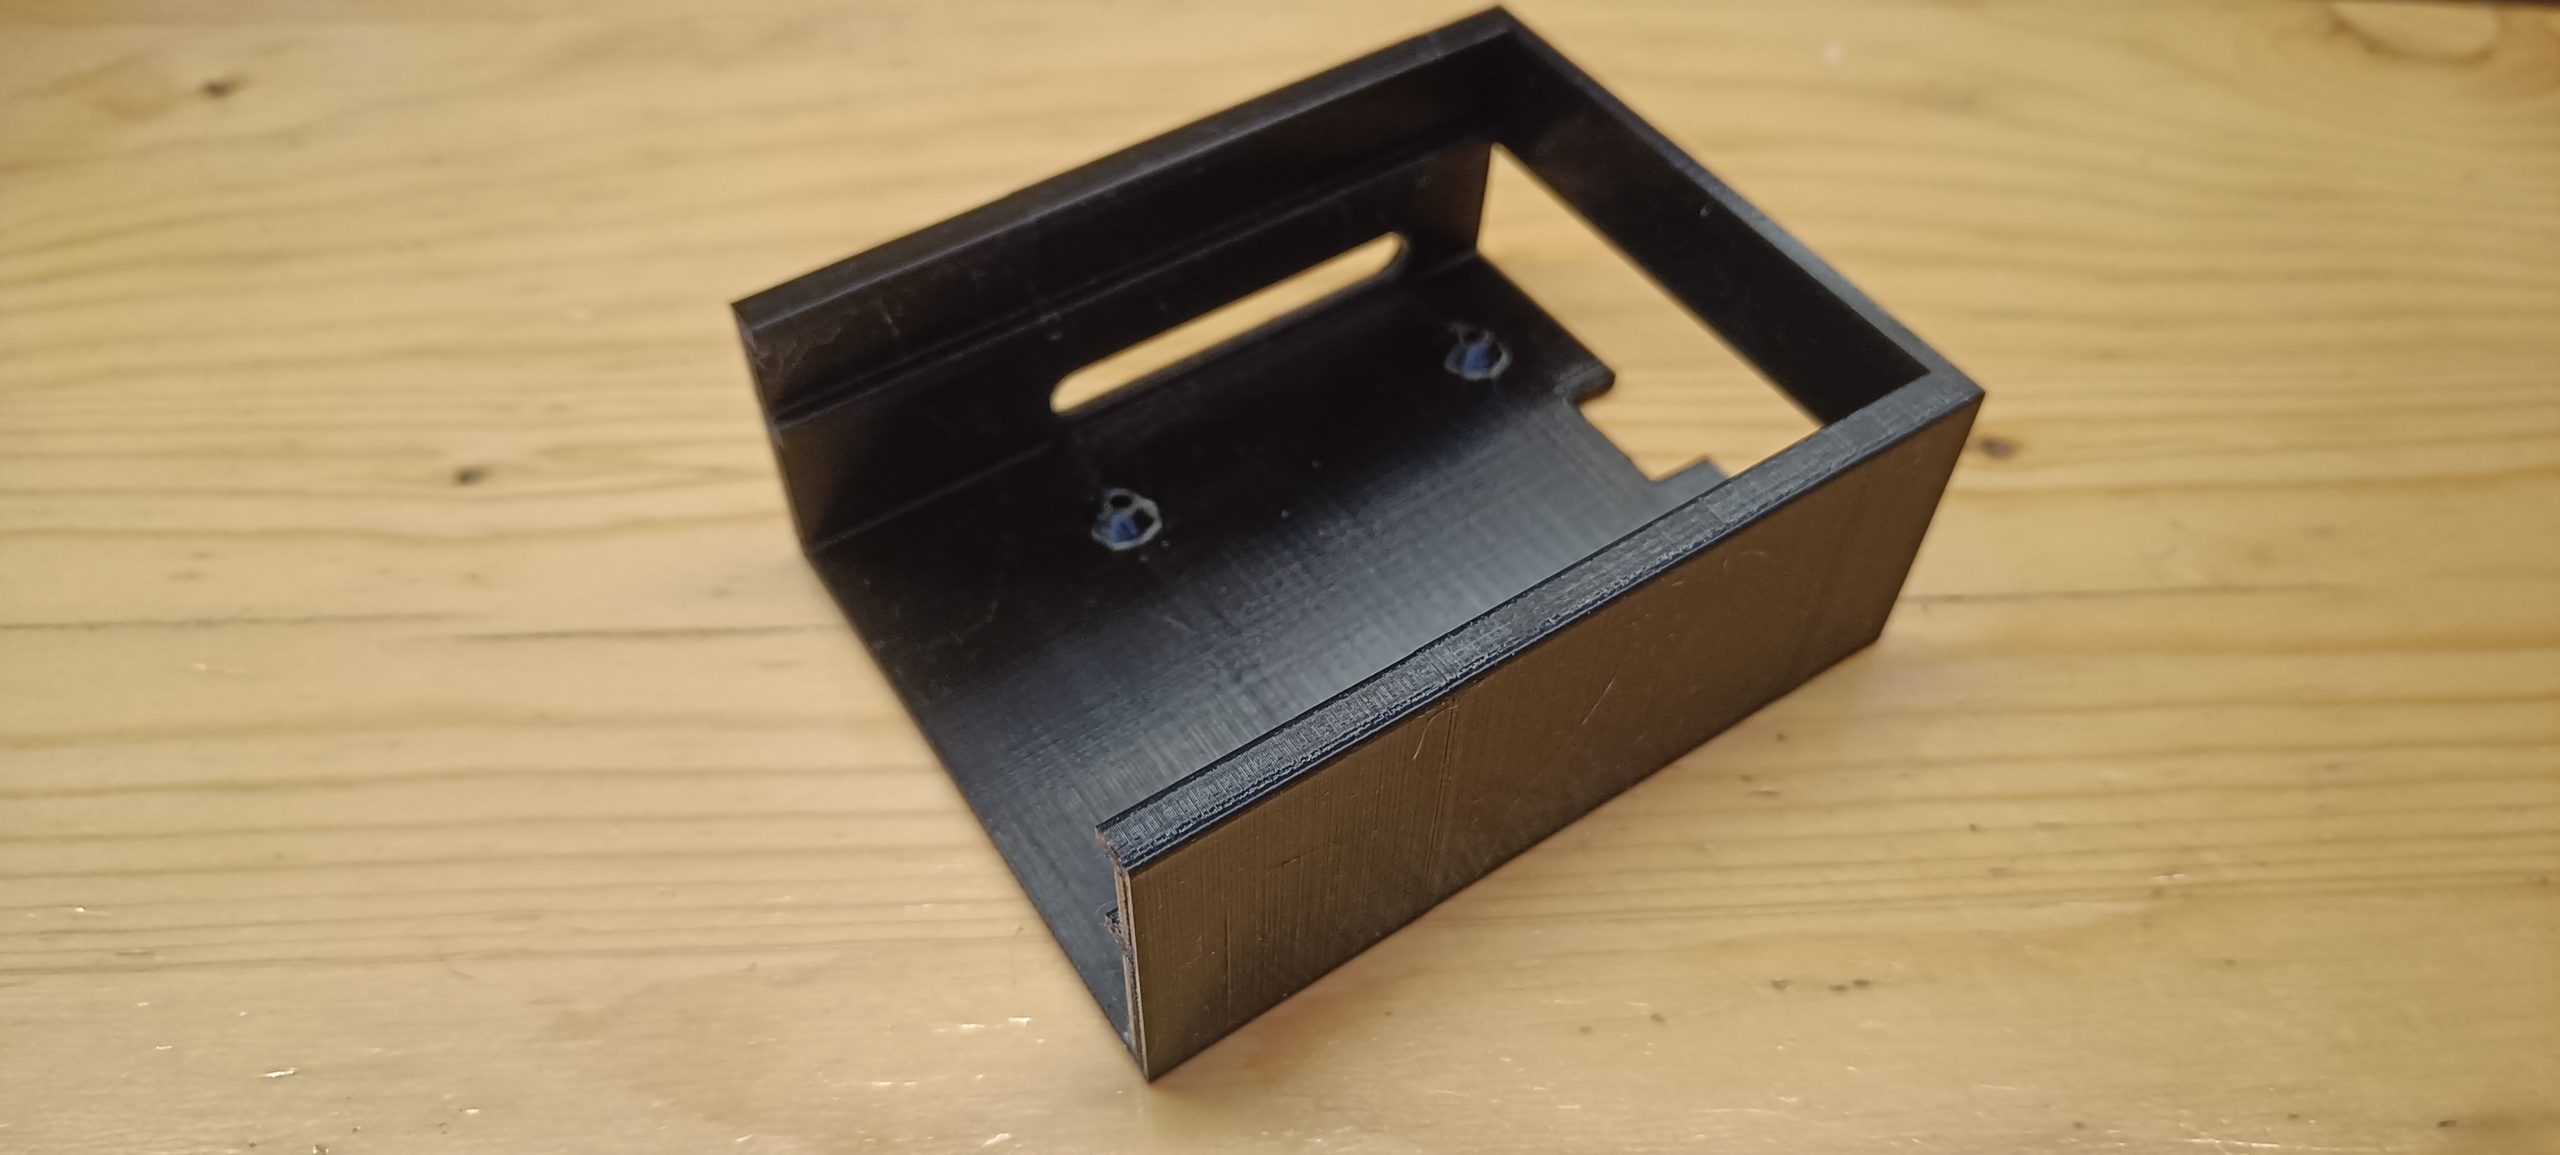
For my old remote backup, I once 3D-printed a simple case with a Raspberry 4 and a 2.5″ USB disk (Western Digital Elements 25A2). I want to reuse this concept, not only for remote, but also for my primary backup solution at home. I still do have some Raspberry Pi 4 boards in my junk-box, and I do have two of these USB disks as well. So I fired up my 3D-printer and printed an extra case. Once done, I assembled the hardware. I actually replaced the old case as well, since I did some small changes on the case design to make it a bit smaller.
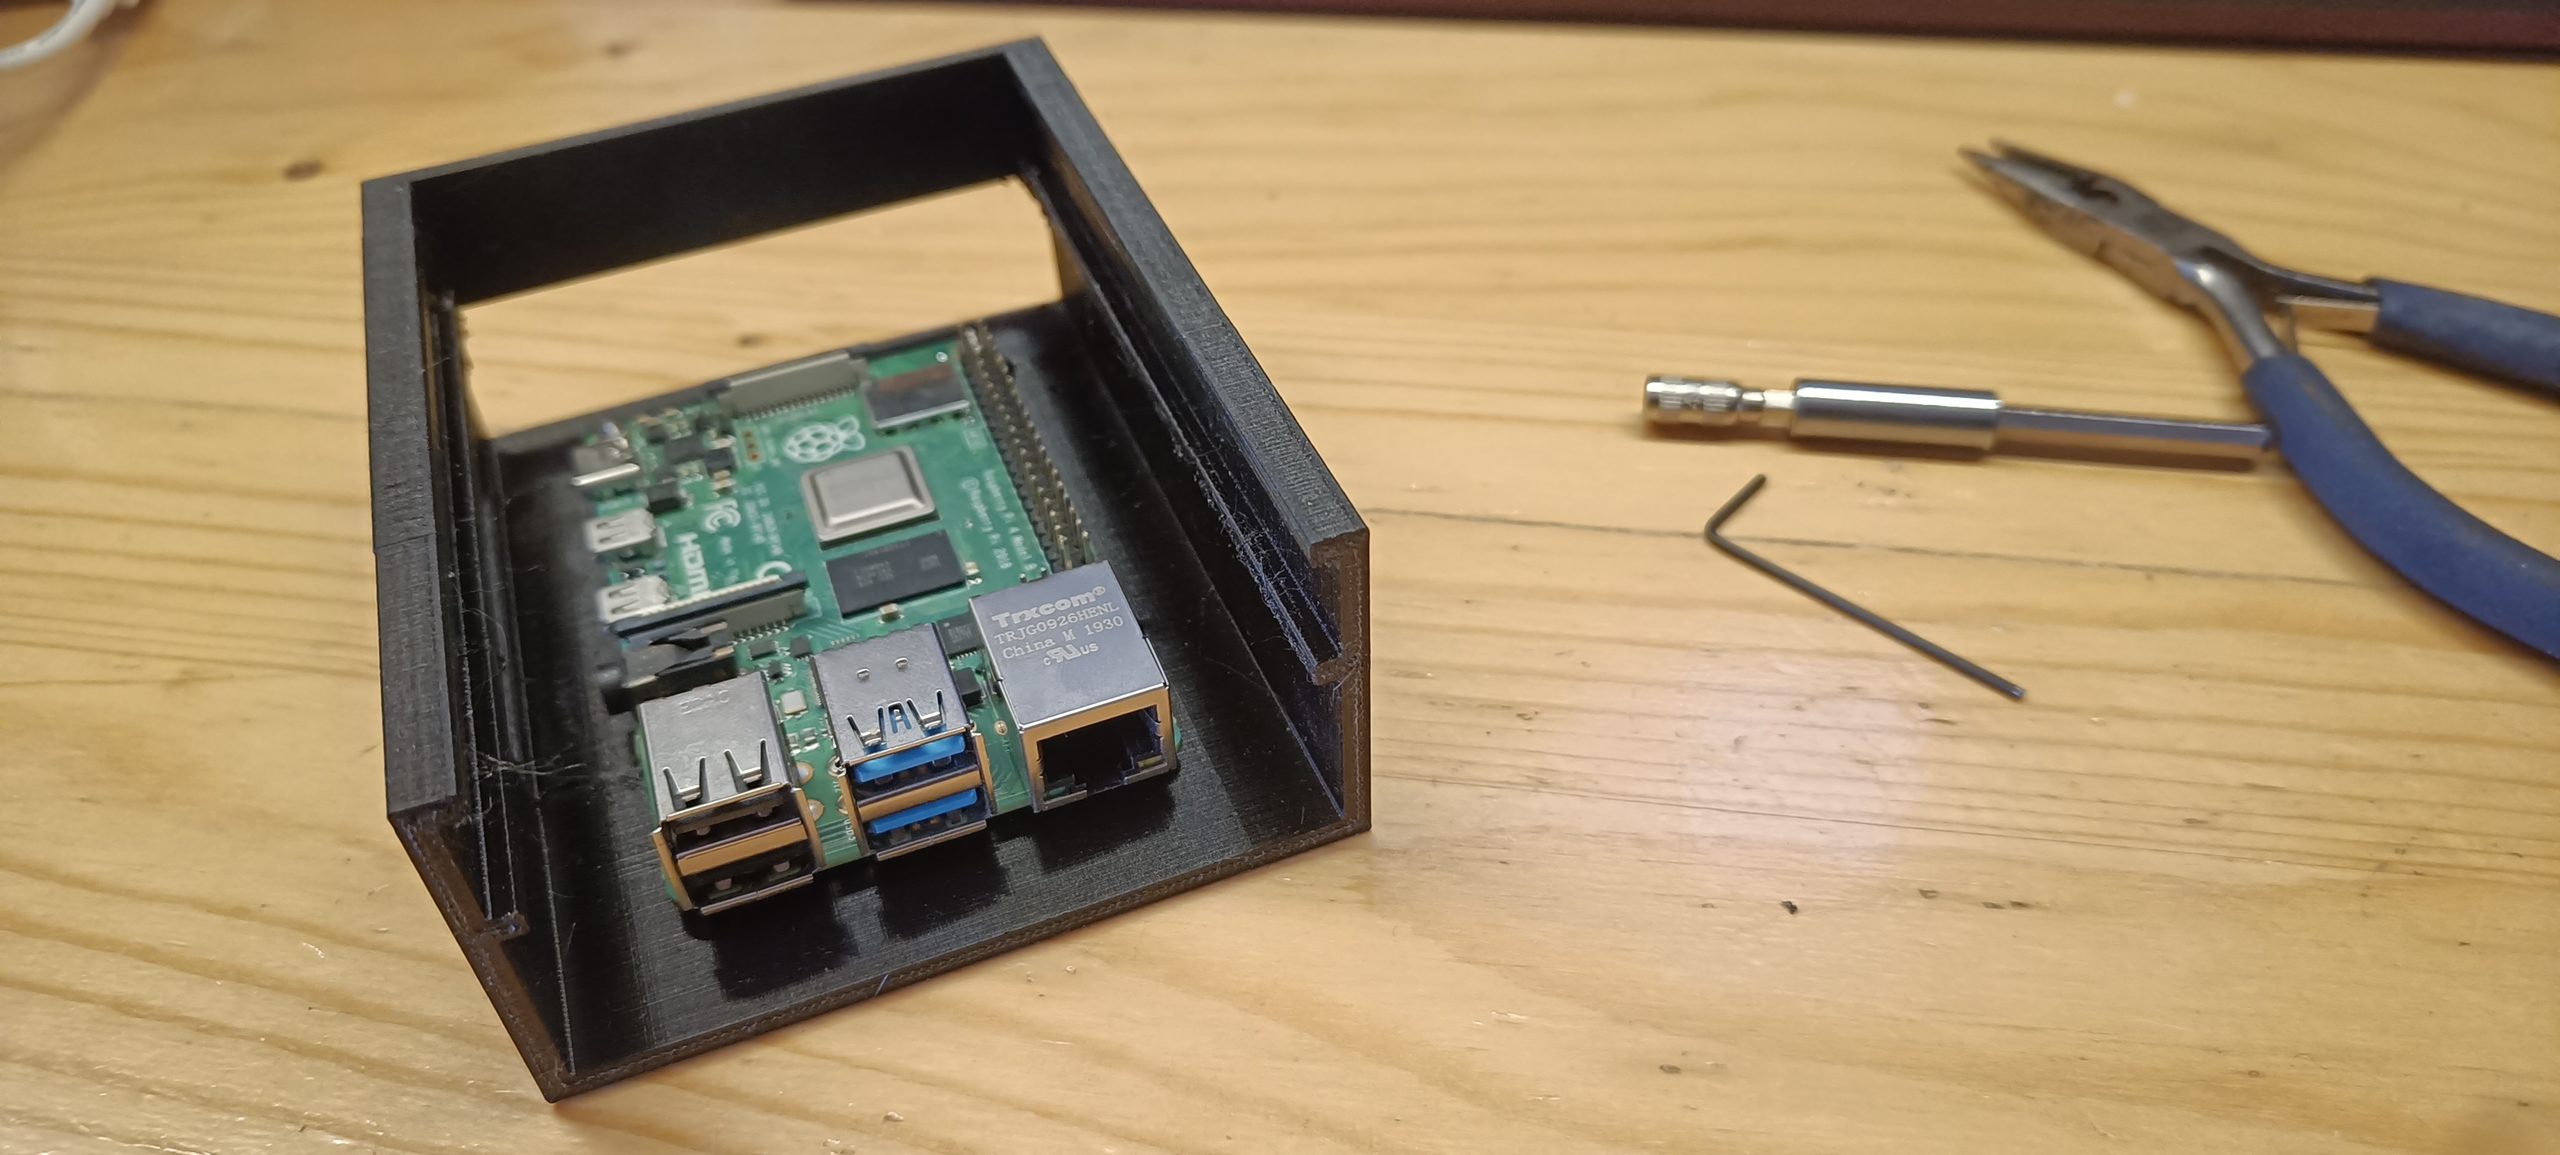
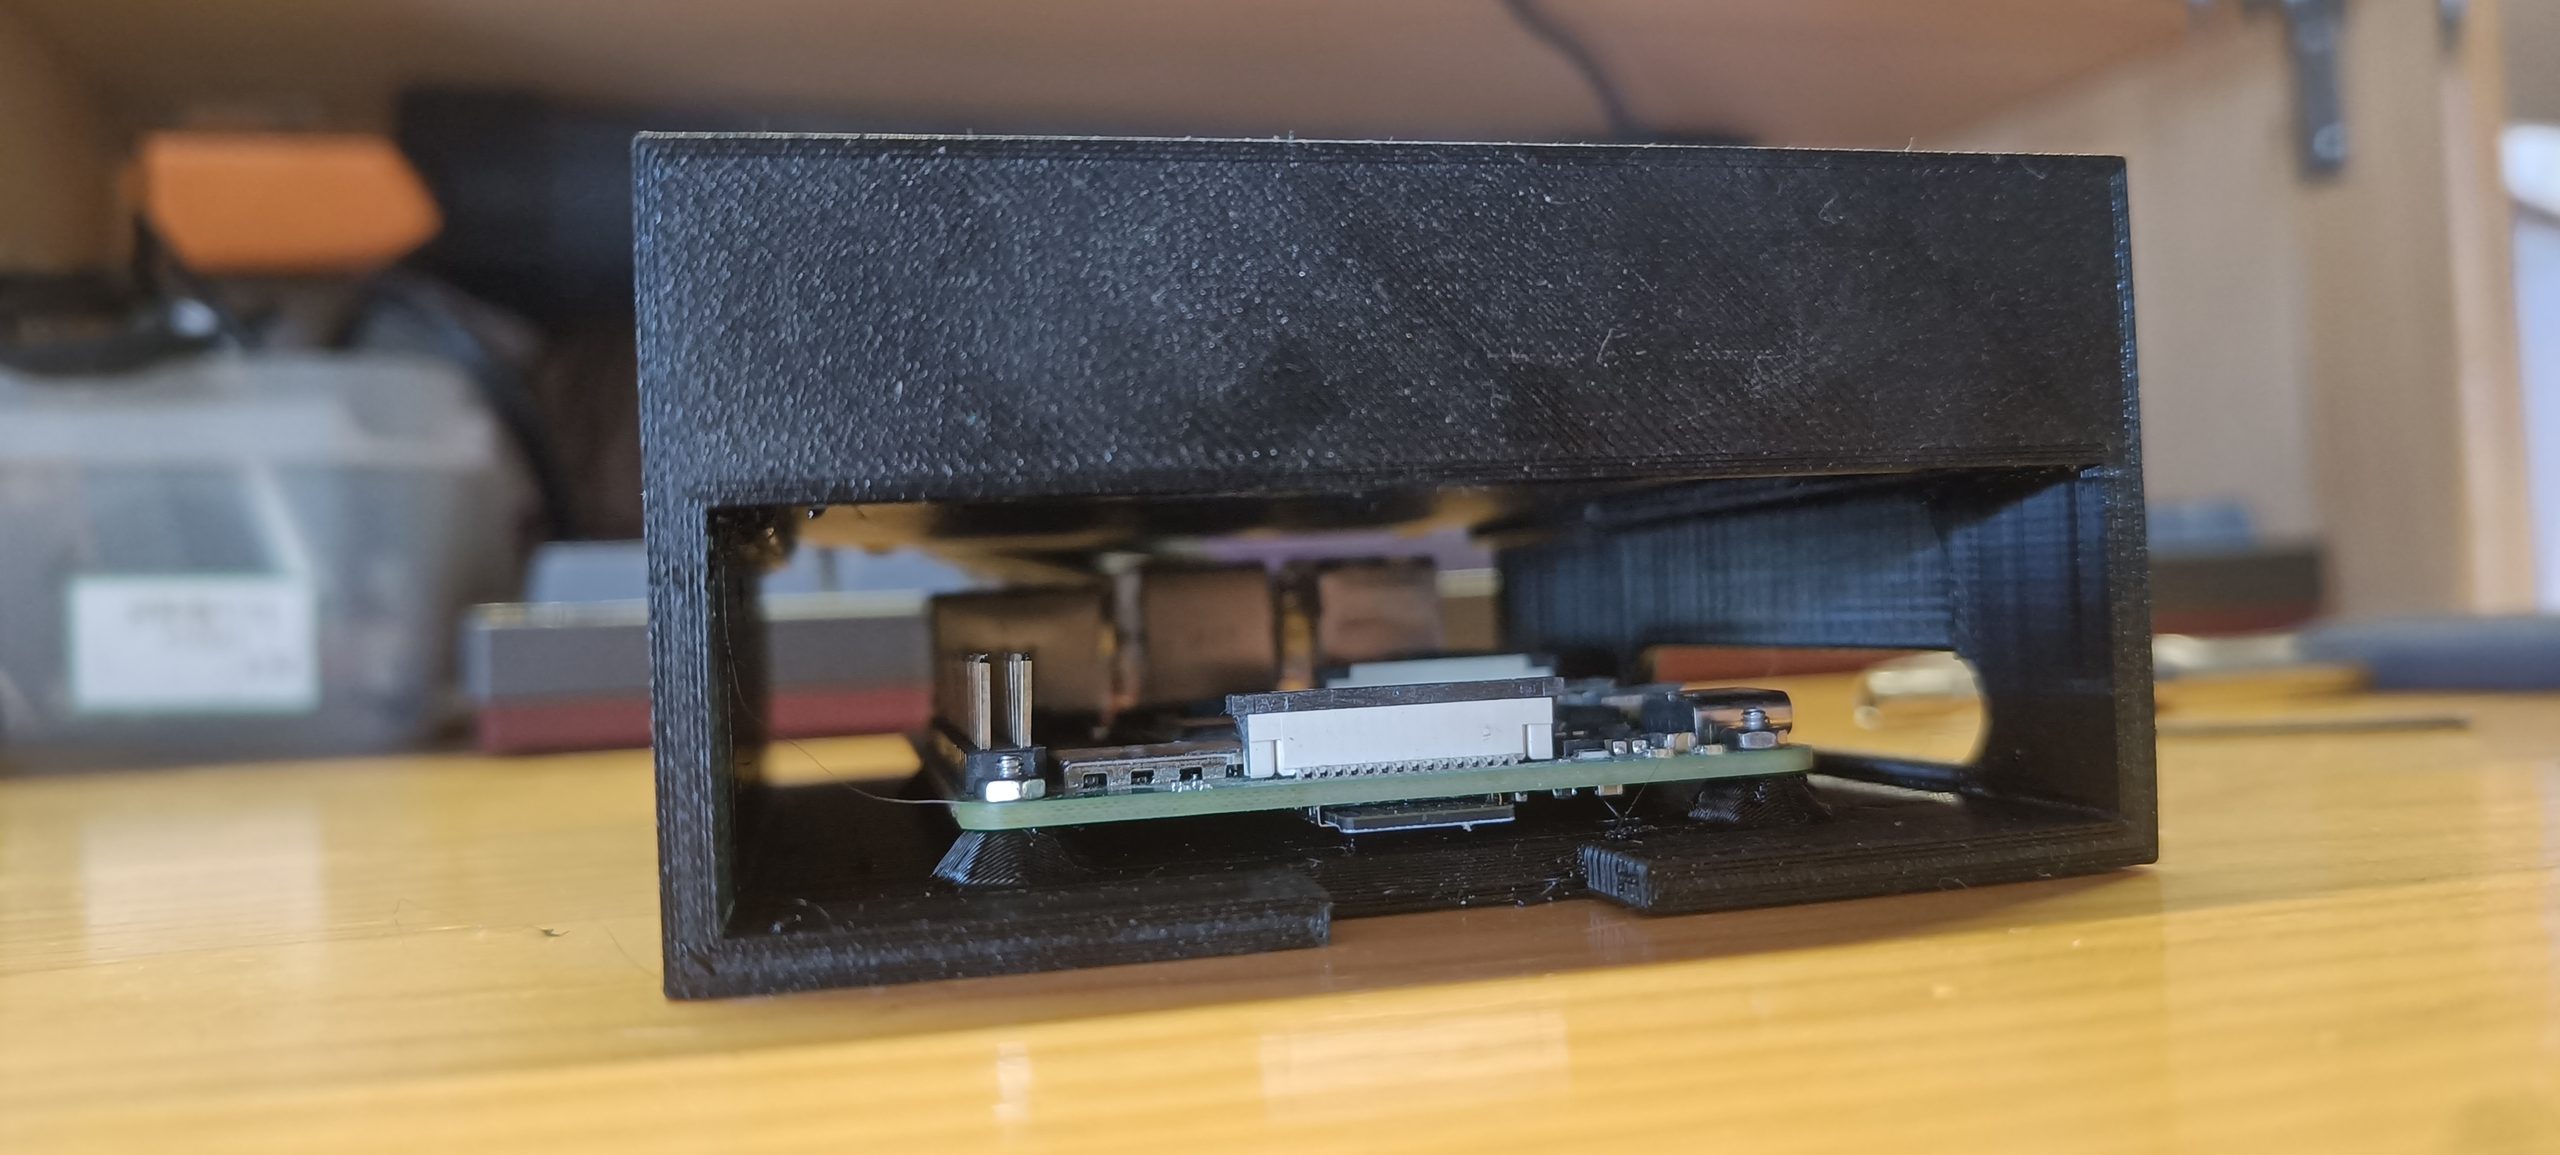

Linux and Restic
For small Raspberry Pi based solutions, my go-to operating system is Alpine Linux. It has a very small footprint and boots really quick.
I installed Linux on an endurance SD card. These endurance cards are great for this solution, since Linux remains writing data now and then(e.g. logging), most SD cards don’t like that and will die sooner or later. Those endurance cards are designed for active writing applications and will survive for a long time. Alternatively, you can relocate volumes like /var/log and /tmp to ram disks. Or you can install Alpine Linux in a way that it still boots from the SD card, but operates from a RAM disk. Or configure your Raspberry Pi to boot from the USB disk and install the operating system on that disk. Anyway… installation instructions for installing Alpine Linux on a Raspberry Pi are here, be sure to use the aarch64 version.
After plugging in the USB disk, you might need to partition it. You can use fdisk to do this interactively, then format the partition using mkfs.ext4 /dev/sda1 (device path may differ, depending on disk brand/type). Finally add this line to your /etc/fstab:
/dev/sda1 /rbackup ext4 defaults,nosuid,nodev 0 0Then create the mount point and mount it:
# mkdir /rbackup
# mount /rbackup
Restic just needs an SSH machine with enough storage. So the only thing left is creating a user for your backups and provide access to the USB disk, for example:
# adduser -h /home/rbackup -s /sbin/sh rbackup
Changing password for rbackup
New password:
Retype password:
passwd: password for test changed by root

# chown rbackup:rbackup /rbackup
Linux clients
To configure a Linux client to store backups on the Restic appliance, you need to install Restic and copy your SSH key to the appliance. For example, on a Debian or Ubuntu host you can do this:
# apt install restic

# ssh-keygen -t ed25519  # Generates an SSH key if you don't have one yet

# ssh-copy-id rbackup@<hostname>  # Replace <hostname> with hostname or IP-address of your appliance
Before you can create backups, you have to initialize the Restic repository:
#  export RESTIC_PASSWORD='<aVeryLongAndComplexPassphrase>'
# restic -r sftp:rbackup@<hostname>:/rbackup init
Now you can create backups. For example, to create a backup of /home, you can run:
# restic -r sftp:rbackup@<hostname>:/rbackup backup /homeNote: be sure to save the password in a safe place!
You probably want to schedule this. I created this small shell script named /root/restic/backup.sh on each Linux client:
#!/bin/bash

export RESTIC_REPOSITORY='sftp:rbackup@<hostname>:/rbackup'
export RESTIC_PASSWORD='<aVeryLongAndComplexPassphrase>'

restic backup / --exclude-file=/root/restic/exclude.txt --quiet
The script also uses a text file that lists all files/folders to skip during a backup, named /root/restic/exclude.txt:
/dev/*
/proc/*
/sys/*
/tmp/*
/run/*
/mnt/*
/media/*
/lost+found
/var/tmp/*
/var/cache/*
To schedule the backup, run crontab -e (as root) and add this line to run a backup each night on 3:30 a.m.:
#min  hour    day     month   weekday   command
30    3       *       *       *         /root/restic/backup.sh
Remote backup
It is best practice to have your backup on a remote location, so when your house burns down or gets hit by lightning, your backup will probably become fried. One way is to place move the backup on a remote location and let all clients backup over a VPN connection. However this requires quite some bandwidth. So I decided to keep the backup in my own house and build a second unit to place at a remote site. This unit actually sets up a VPN connection to my home and uses rsync to synchronize data from my backup server to this unit. Details on how to set up such a unit may appear in a future post… or not. Let me know if you’re interested.
Final thoughts
This is a customized solution for my situation, probably not 100% applicable for you. However, I hope it provides you some clues or inspiration for your own backup solution.
The case provided is primarily designed for the WD Elements 25A2 USB disk. Other brands/types might not fit, since measurements will be different. During my first tests, I used an old LG HXD5 Mini HDD, which also seemed to fit.
Restic also provides clients for Mac and even Windows.